
10 Simple Tips to Start Making Family Photo Books
Creating a family photo book can feel like a big project, especially when your photos are scattered across phones, computers, and old cloud folders. If you’ve ever wanted to make a photo book but felt overwhelmed by choosing images, organizing your favorites, or figuring out which photo book company to use, you’re not alone. This guide breaks the process into simple steps and offers practical photo book tips so you can finally design a beautiful family photo book without stress. Whether you’re building a yearly album or preserving a favorite session, you’ll find easy ways to organize photos, choose layouts, and create a photo book you’ll be excited to hold in your hands.
1.Just get started
When I polled my Instagram followers, one of the biggest issues stopping people from making photo books was being too far behind. I get it, I really do. But let me tell you a secret . . . I started my photo books back in 2014. Want to know when my oldest was born? 2012. I always had the goal to go back and do at least 2012-2014, and I totally have . . . NOT. At this point, I don’t know if it’ll ever get done because it’s all I can do to get one done a year. So it’s ok if you get started late! It’s better to have one or a couple than none at all. It does NOT have to be all or nothing.
2.Choose a consistent time to make your photobook
This might be the secret sauce to making sure it gets done. Since I only do one photo book a year, I choose to do mine usually in January. This makes sense for me for a couple reasons: January is usually slow season for my photography business, it’s right after the end of the year so it’s on my mind, and with all the beginning of year “resets” and resolutions, it just ties into that time of year. So I know every time January rolls around I will be working on or at least starting my photo book. There are times (like this year) where there may be some extra things going on and I’m not able to finish it when I usually am, and that’s ok! It’s about being consistent, not perfect.

3.Choose where you’re going to print from
You wouldn’t think this one would be a doozy, but it totally is. In my short foray into photo book company research I quickly got overwhelmed with the amount of options and how they were rated. Will I want a better layout of the design app more than clipart and backgrounds? Does lay flat and binding and page thickness actually matter?
I don’t have a TON of experience with other photo book companies, but I will share my limited experience. I’ve only ever ordered from three separate companies; one that has now gone under, the one I currently use called Picaboo, and Mixbook. I am NOT a fan of Mixbook-I take good quality photos that are crisp and that I edit to look a certain way. The one time I ordered from Mixbook the photos came back blurry and not crisp, and the colors were off. The paper was also super thin and got a tear in it almost right away from an enthusiastic page-turner who shall not be named. Suffice it to say, I was not impressed with the quality. HOWEVER, if those things aren’t a big deal to you, I do hear great things about their photo book maker and the amount of pre-made layouts they have.
The photo book company I currently use is called Picaboo. I had a friend suggest it to me and I have never looked back. There are a lot of reasons why I’ve stuck with them. Picaboo’s printing is good quality, the books aren’t too expensive, and they consistently have sales or coupons going on. (I usually start making my photo book, and then hold off on printing until a good deal comes along-usually a 40% or 50% off coupon code.) They don’t have a TON of layouts (they do have some), but I don’t use those anyways because I’m trying to include as many photos as possible. Their editor is online in their site which makes it easy to upload photos, edit your book, and have edits saved right away. It has a lot of individual page layouts and my favorite thing ever-the ability to save your own layouts. This has made making my yearly photo book much more streamlined. The only downside is occasionally the book maker is a teeny bit glitchy when trying to size images on the page. I’ve found that zooming in helps with this issue, and it’s a minor thing I’m willing to deal with for good quality and not costing an arm and a leg.
Three other companies I consistently ran into in my research and heard good things about were Blurb (downside: no cliparts/backgrounds), Vistaprint (not good for when you need a quick delivery, not all sizes have a lay flat option), and Artifact Uprising (good quality, but very expensive).
4.Pick a Book style upfront
Picking a size and then sticking with it does two things for you: 1. cuts down on decision fatigue and 2. helps your display of photo books look nice and neat. I tend to stick with a landscape of 8.5×11 because it’s big and gives me enough space, but it’s not so big that it’s an awkward size. I also like thicker pages (which come standard in every picaboo photo book), and I like the lay flat design because you can really utilize every inch of space without losing photos to the binding.
5.Gather Photos in one place
When you’re looking for photos in multiple places while trying to edit a photo book, it can quickly get frustrating and overwhelming. So before you even start, gather your photos. Decide if you want to do a vacation, a special occasion, or the full year, gather the corresponding photos in one place, and start designing. Oh and if you need help with photo organization? I’ve got a blog post AND a freebie (bottom of page) for that!
6. Don’t edit every photo
I did this the first couple of books I made and now I want to shake past Kristina by the shoulders. So much wasted time! If you can avoid editing, do it! Usually the slight edits I made went unnoticed to everyone but me, and even I could barely tell a difference. If a photo needs it, then go for it, but be choosy about spending time editing. Photo books already take long enough without making it more complciated!
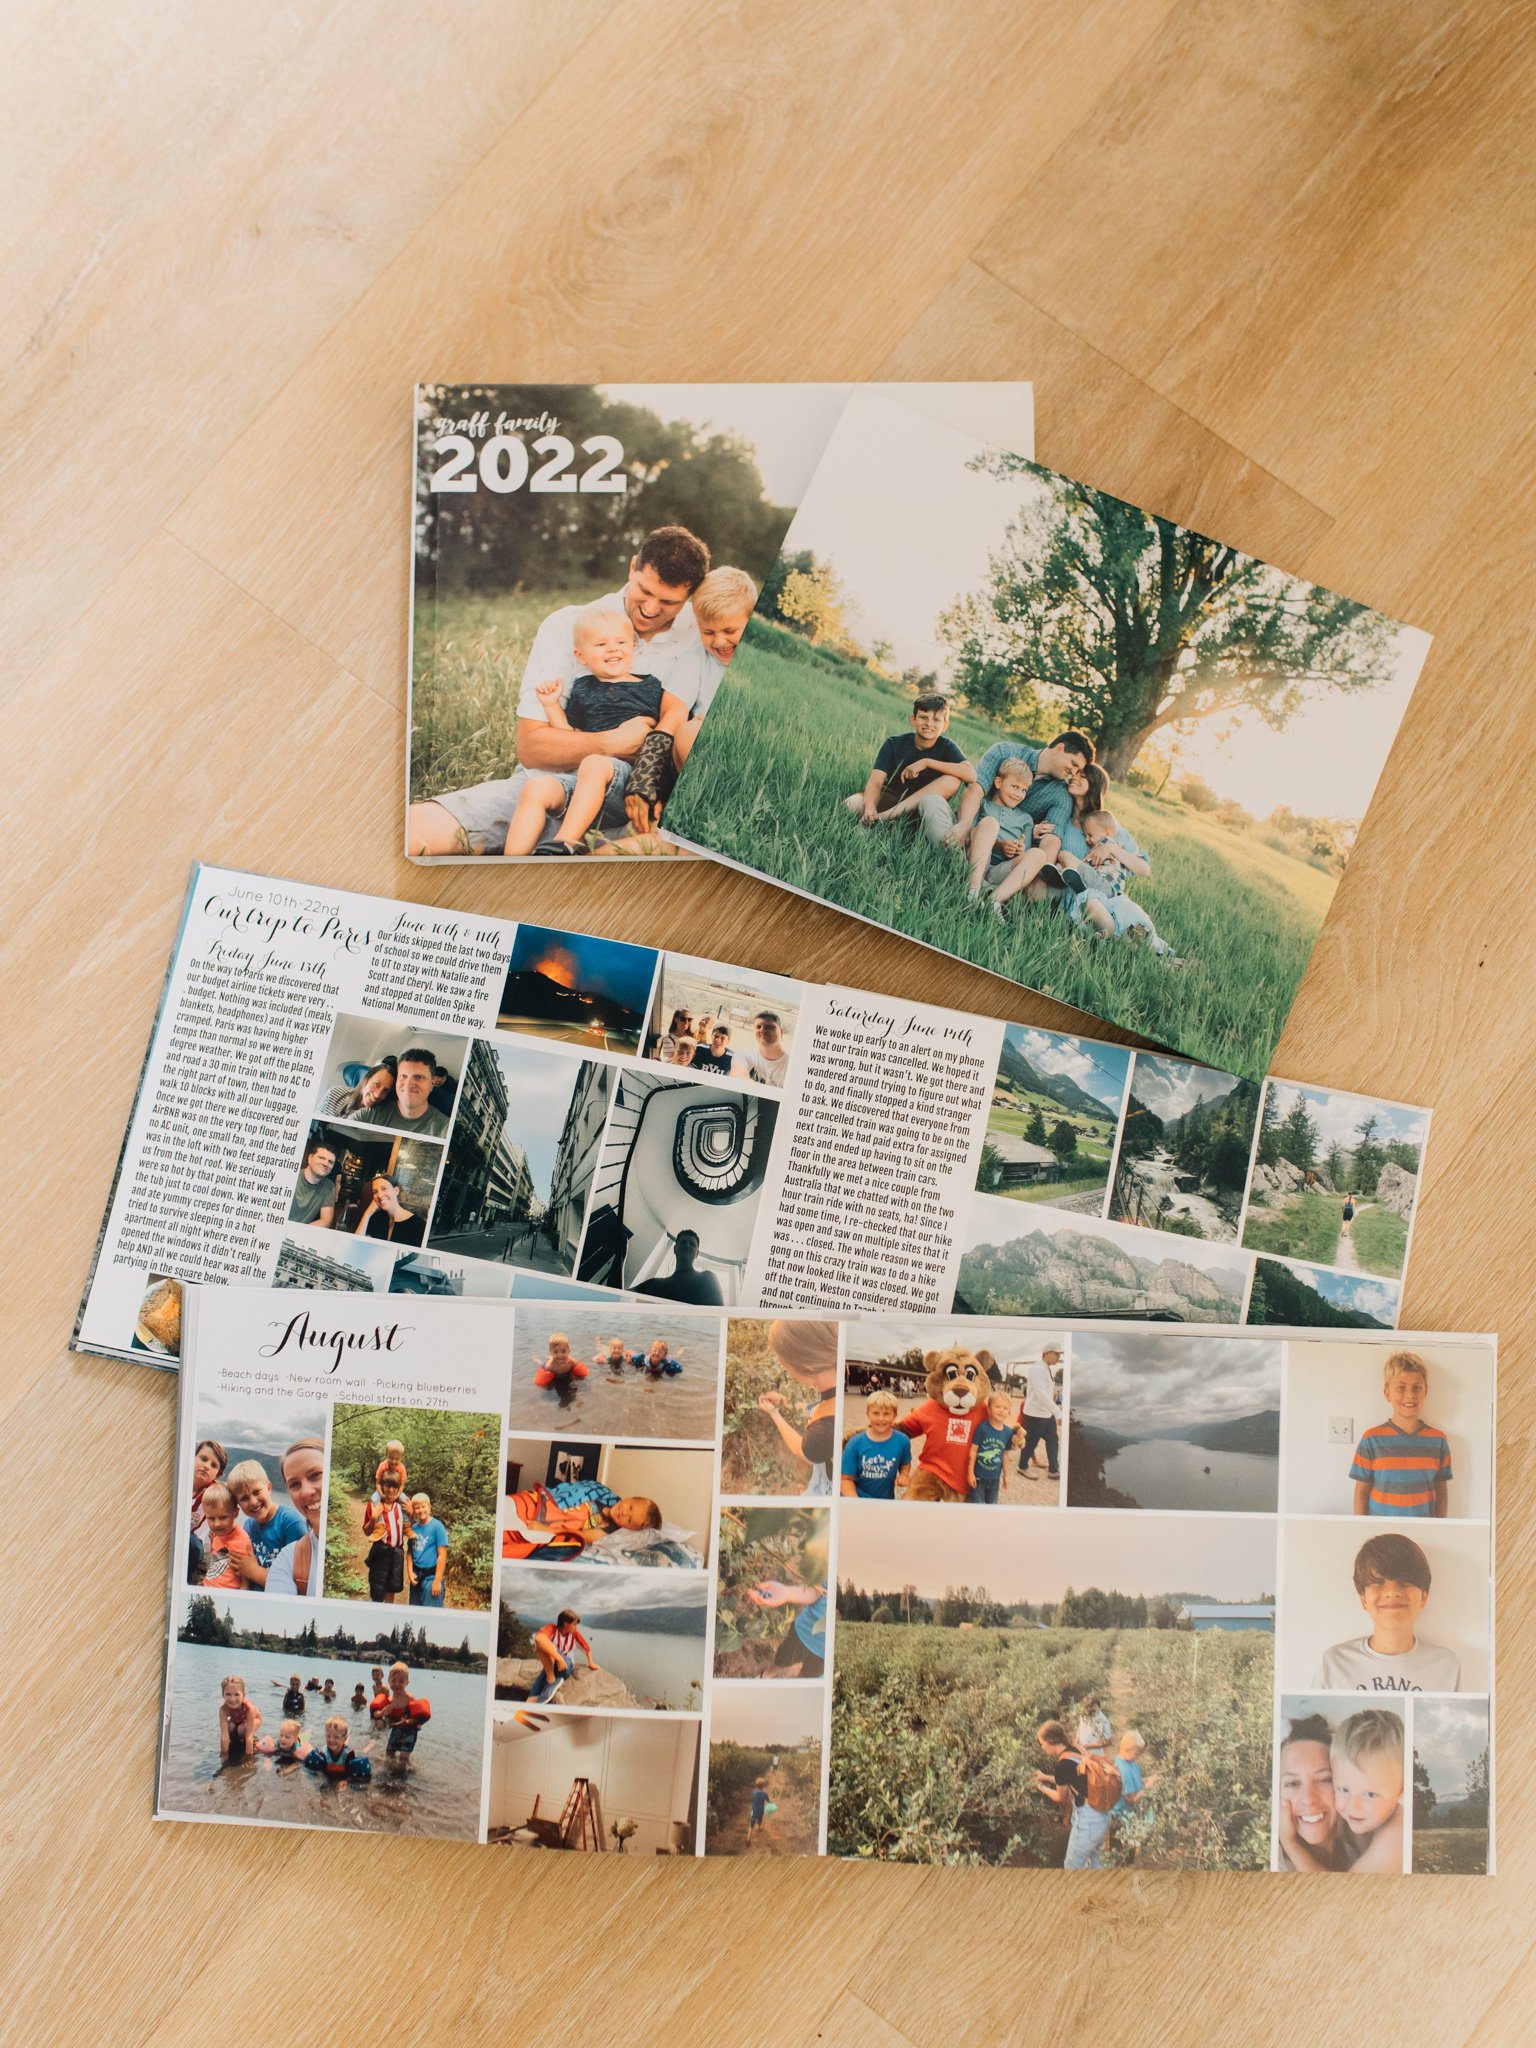
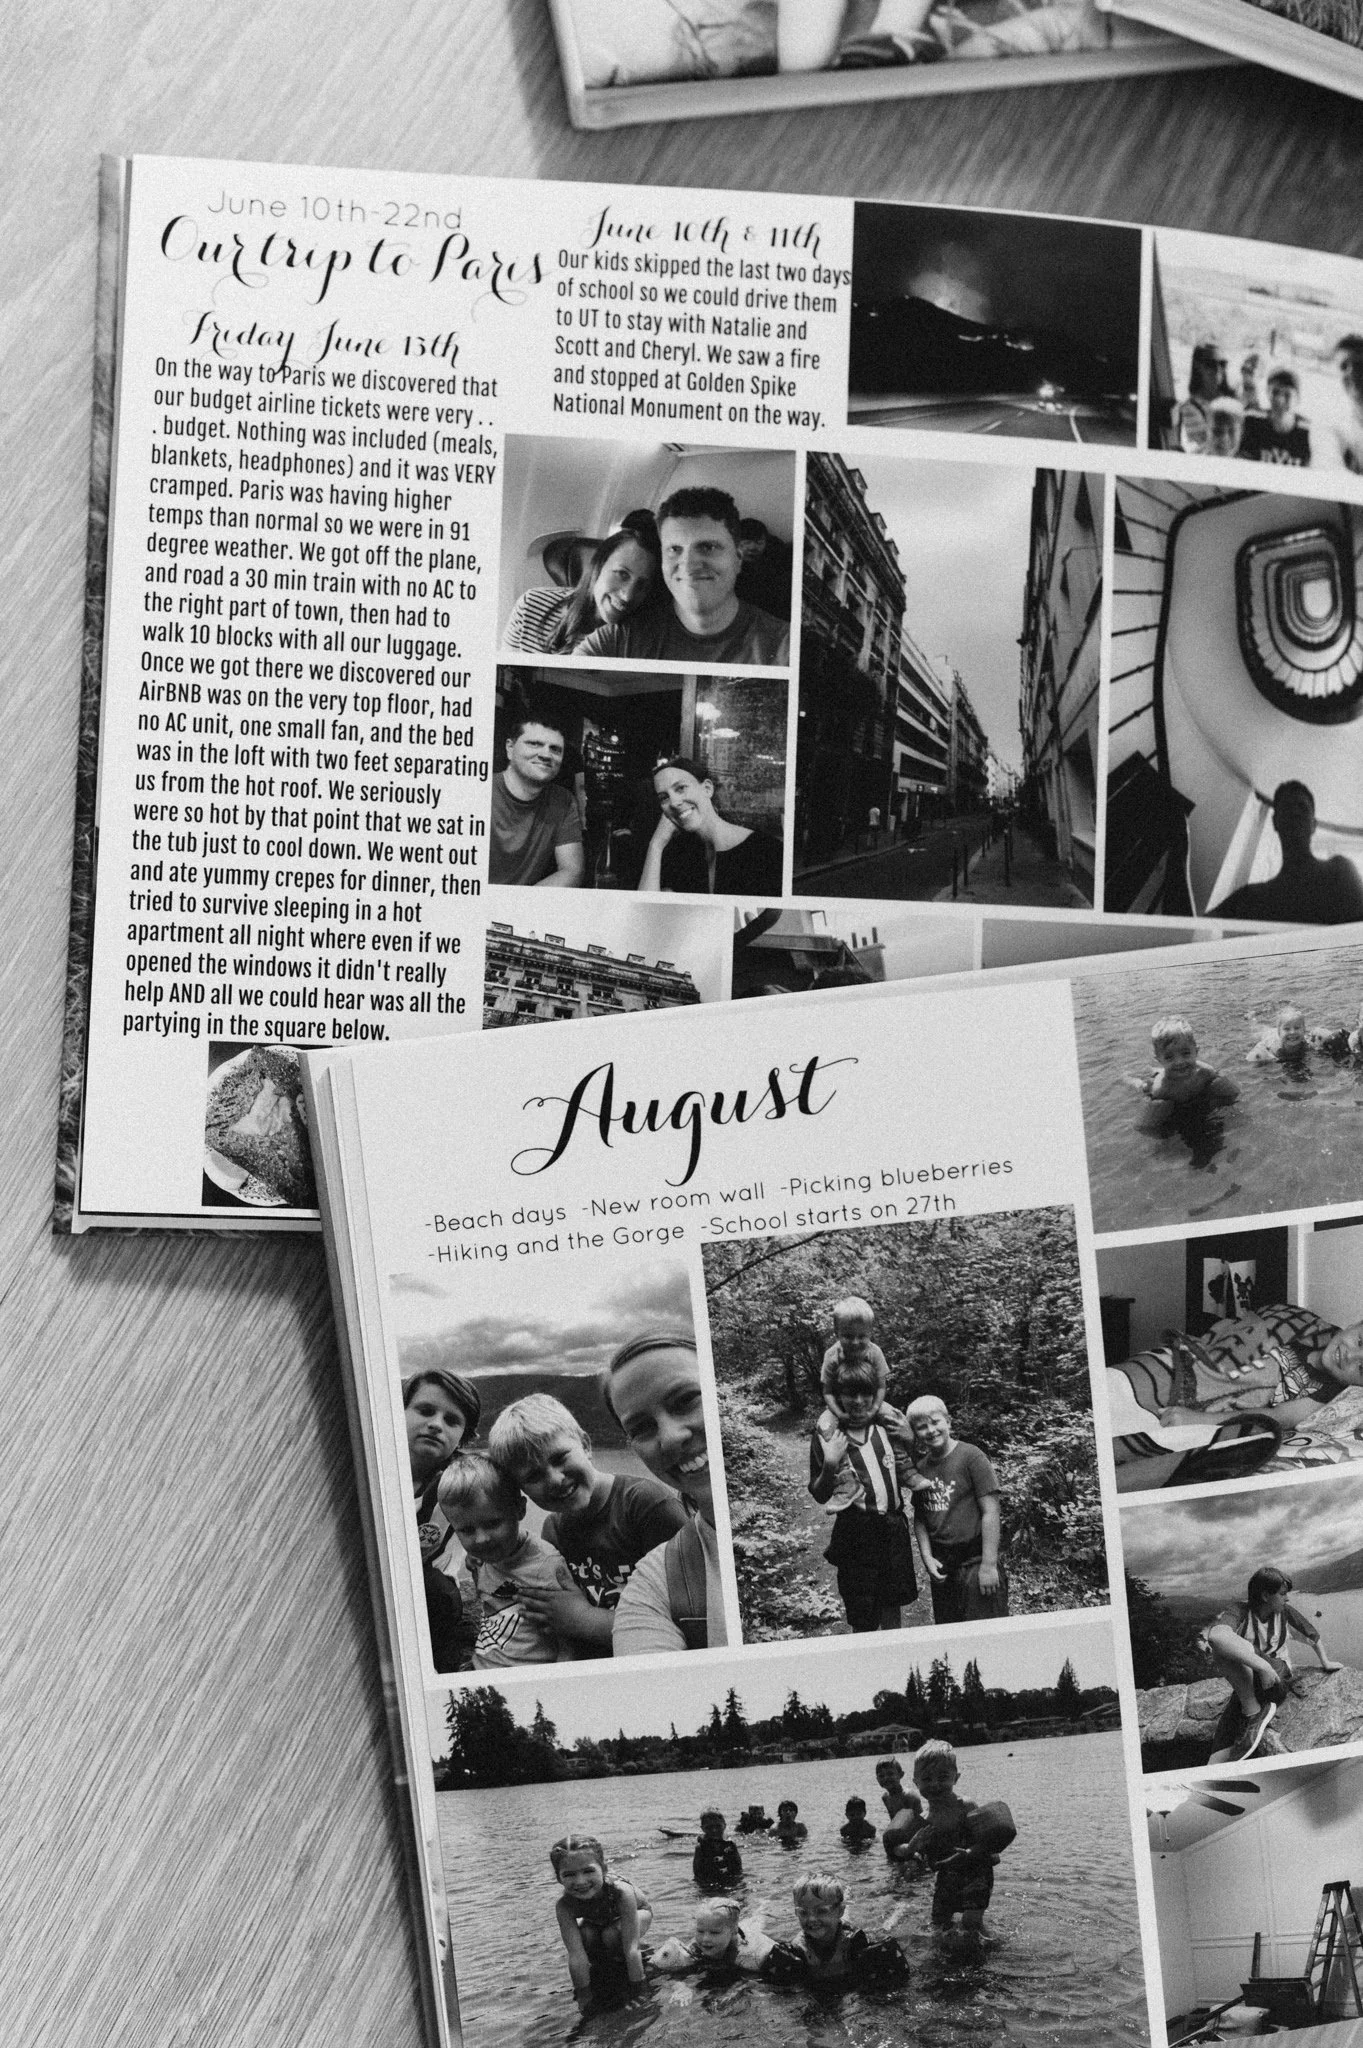
7.Don’t feel like every image needs a story (unless that’s your thing)
Now obviously this is my opinion, but I noticed that a barrier for me sometimes is not knowing what to say or wishing that I can make everything entertaining and funny. Once I let that go, things got a lot easier. If I feel like something needs to be labeled or needs a little extra explaining, I often utilize bullet points for things that happened that month. I usually have longer captions for vacations, but I like to keep it short and simple when I can.
8. Break the book into bite-size sessions
If I uploaded every single photo from the year at once into my book maker, seeing all that would immediately make me want to sit down and cry. What I do to help my brain and keep things straight is to break it down into easier parts. I usually upload a month at a time (ie all photos from January) because it helps me keep things straight. Picaboo also automatically uploads my photos in chronological order so there’s no guessing on what came first. However, sometimes there are a lot of photos that month because of a trip, vacation or family visiting. In that case, I often break it up further by uploading anything before the trip first, then uploading pictures taken during the trip day by day, and then the photos from the remainder of the month. It’s all about making it doable and easy. I often have a goal of finishing a month a day, but depending on the month sometimes that isn’t possible. Whatever works for you, just realize that breaking it up is a big help.
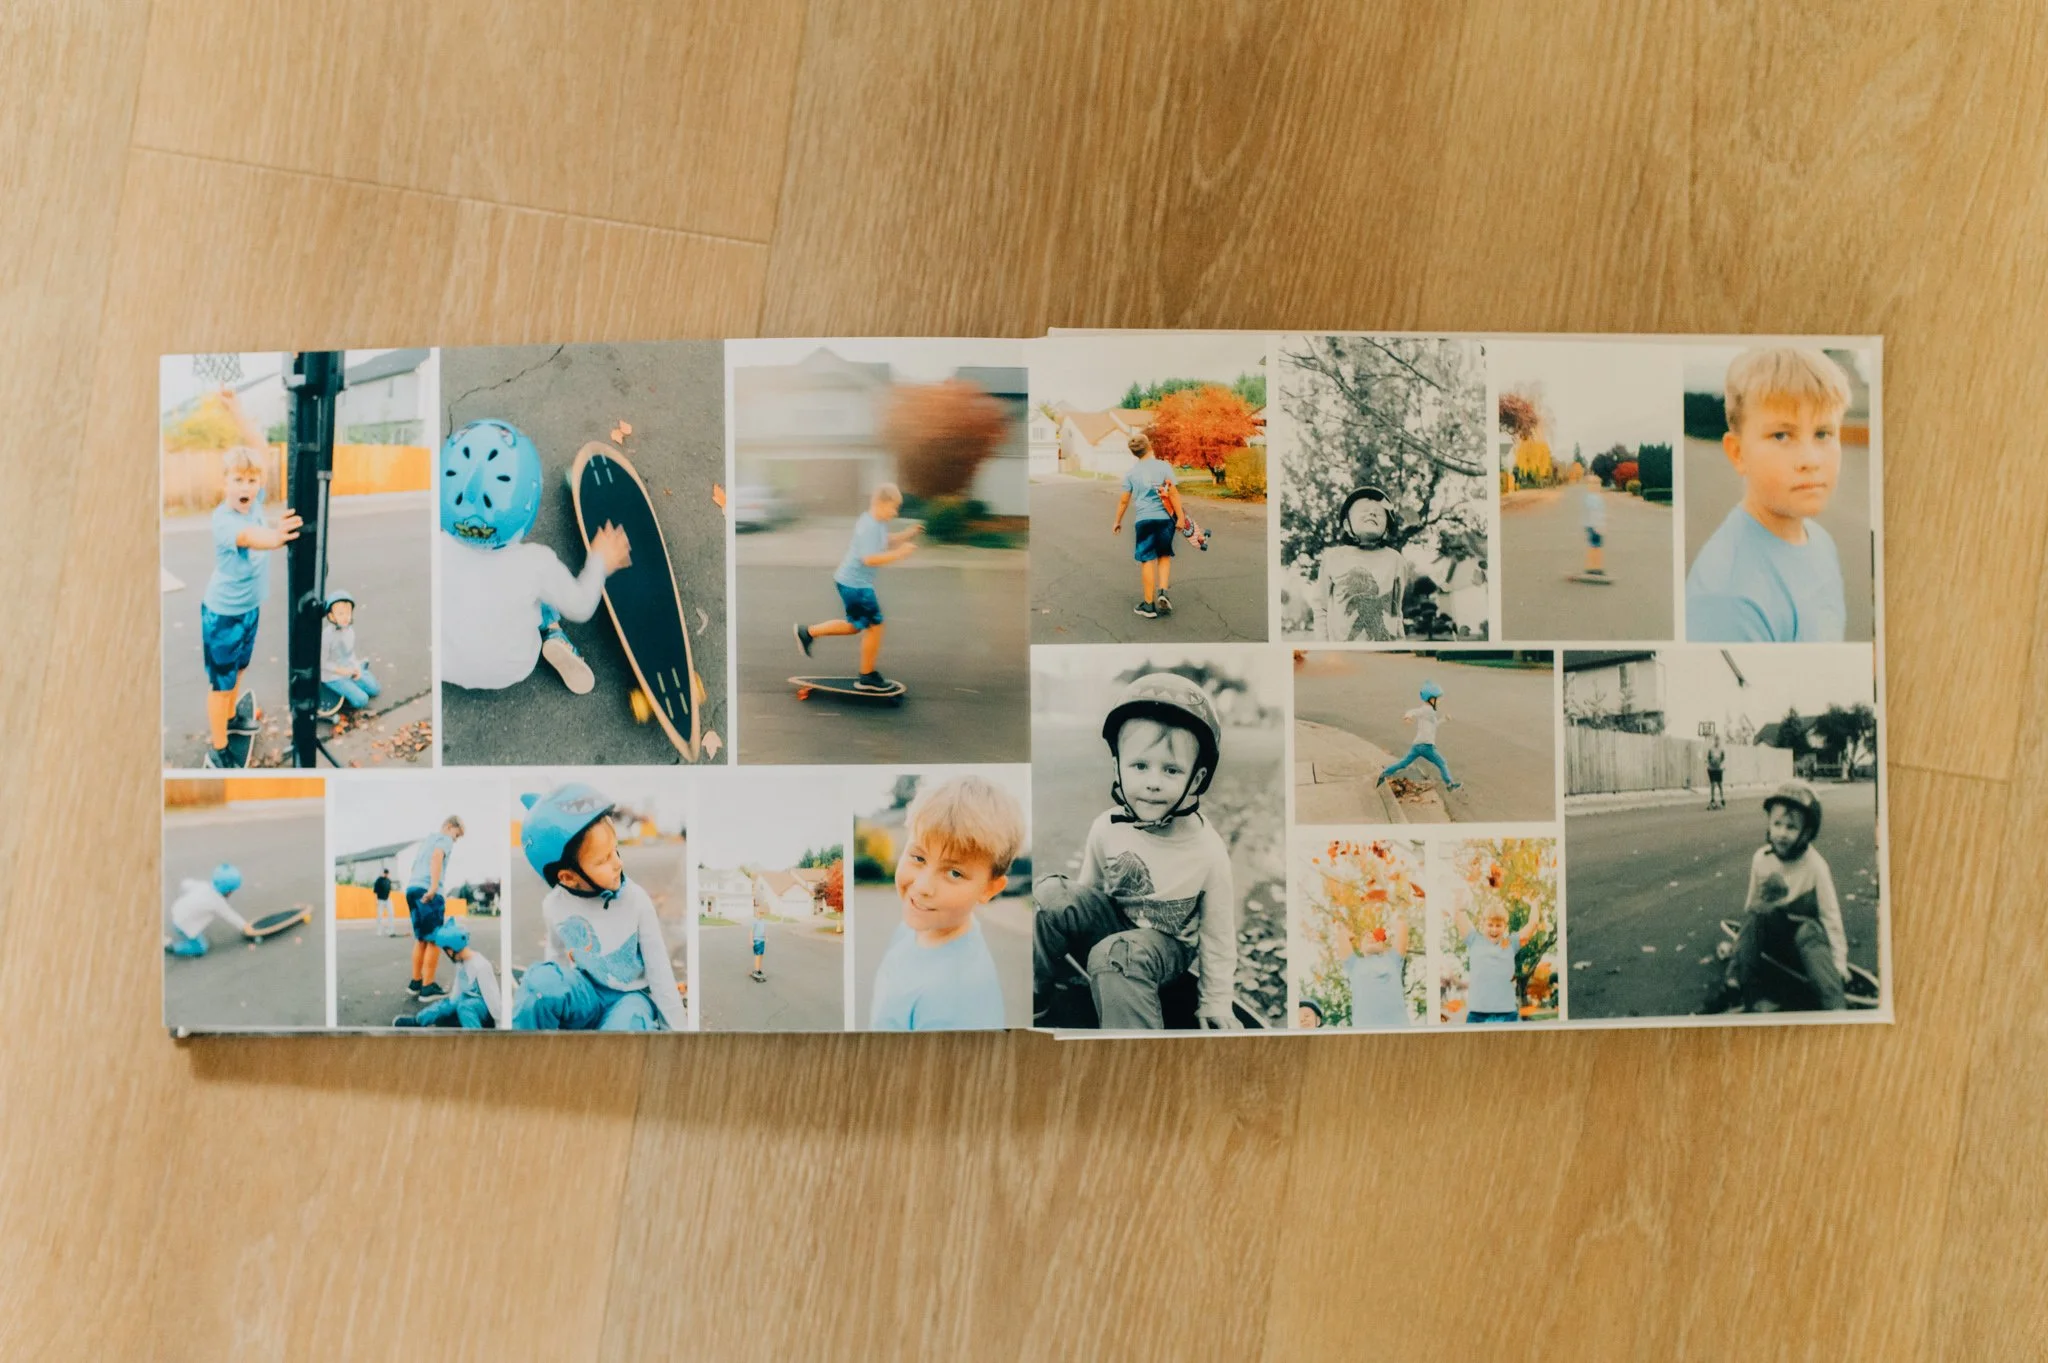
9.Think about which photos you want highlighted
Some of my photos are gorgeous and I want them to be SEEN. Others are just snapshots of funny moments or documenting school assemblies. While I love those memories too, they don’t need to be a huge size. I like to have a two-page spread of a set of photos that I really enjoy seeing together or that follow a theme. Besides that, I’m not worried about how pretty it looks-I’m just trying to get as many photos as I can within the book.
10.Don’t get stuck in your structure of choice
Ok, let me explain. I usually do one photo book a year, so I go in chronological order. However, sometimes there are hardly any photos before and after a trip and if I stuck to chronological order I’d have a couple of pages with hardly any photos before and after the trip. If it doesn’t work in the layout to keep strict chronological order, I’ll just put before and after a trip on one page.
Sum it up . . .
Cliff notes version:
-I print from Picaboo, I use the 8.5×11 lay-flat style
-I save layouts to make plugging photos in super fast and easy
-I will make the book at the beginning of the year, and then wait for a good coupon/offer to actually order it.
-Photos are organized before I even start making the book, as well as a page I use in my planner where I list everything that happened that month in order as a blueprint to what I’m putting in the book and so nothing gets forgotten, even if I don’t have a photo of it.
-I don’t worry too much about clipart and backgrounds and making it look super cute, for me it’s about getting it done.
-I focus on one month at a time, breaking it down further if I need to.
-Captions are short and sweet, unless it’s something like a vacation that I want more details on.
-I edit the photos I take with my camera, anything taken by my phone goes in the book as is.
Alright, that’s it for today. I know nothing I wrote is rocket science, but hopefully it inspired you that it CAN be done and simplified as much as possible.
Want to keep up to date on all the goings on at Kristina Graff Photography? I have a newsletter for that! Join me for life updates, good books, and get first dibs on any special sessions. Sign up here.
Other posts you may like:
Quick Tips to Organize Digital Photos
Easy Rainy Day Activities with Kids
How to Not Feel Awkward in Front of the Camera